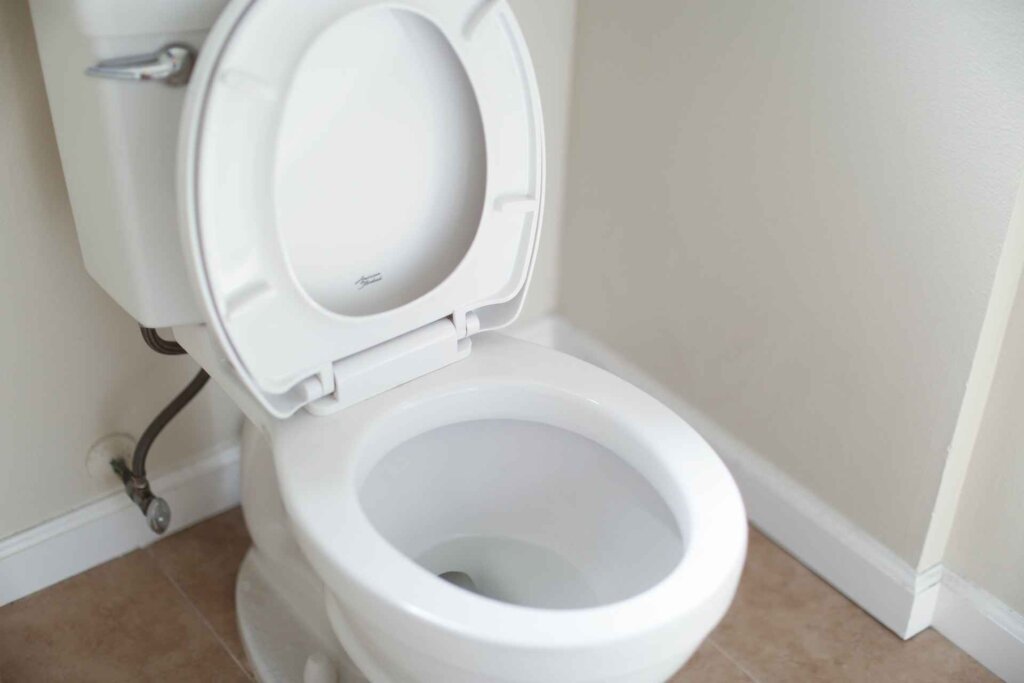
Quick overview of RV toilets
For the purpose of writing a simple and to the point article, today I’m going to be discussing gravity-flush style toilets. A variety of other types of RV toilets exist, but gravity-flush seems to be the most common for motorhomes and travel trailers.
As the name suggests, these cleverly designed toilets utilize gravity as the main force for flushing. By utilizing gravity to dispose of waste, these toilets require minimal water to function, saving RVers trips to the potable water hose.
Gravity-flush toilets are fed fresh water from the freshwater tank of the RV. A small amount of this water is contained in the toilet bowl, being held up by a plastic flap that seals the toilet bowl from the pipe that drops vertically down into the black tank. The pool of water that rests on the plastic flap acts to make an airtight seal against sewer gasses escaping from the black tank.
When flushed, the toilet flap opens, allowing the water and any liquid or solid human waste to drop into the black tank. As the flusher is released, the flap snaps shut, and the toilet tank valve refills the toilet bowl. Simple, tidy, effective.

Common causes of a running RV toilet
There are four main issues to look for when troubleshooting a running RV toilet. Most of these issues are pretty directly related to each other, with the failure of one part creating a domino effect that leads to the failure of other components in the system.
The three primary causes of a running camper toilet are:
- Flush pedal has become stuck
- Flap is misaligned
- Malfunctioning flush valve
Many gravity-flush toilets use a foot pedal flushing mechanism. This pedal can become sticky over time and start to catch before fully closing. This prevents the plastic flap from fully closing and, in turn, the flush valve from turning off. If the flush valve never turns off, water will continuously run into the toilet bowl.
Regardless of the foot pedal, if the flap is misaligned, water can continue to run into the toilet bowl. A misaligned flap is usually an easy fix that can be done with a simple hand adjustment.
A malfunctioning flush valve can continue to fill an RV toilet bowl with water even after the toilet has completed its flush cycle. When this happens, the flush valve is prompting the water pump to continue flowing with the toilet bowl flap closed. This leads to an overflowed toilet, potentially water-damaged floor and walls, and a waste of good water.
Please note that some of these parts are called different names by RVers in different regions. A flush valve is often called a water valve or fill valve, and the flap in the toilet bowl is called a flapper valve by some. Flush lever, foot pedal and flusher are all alternative names for the flush pedal.
How to troubleshoot a running toilet
Alright, let’s get onto troubleshooting.
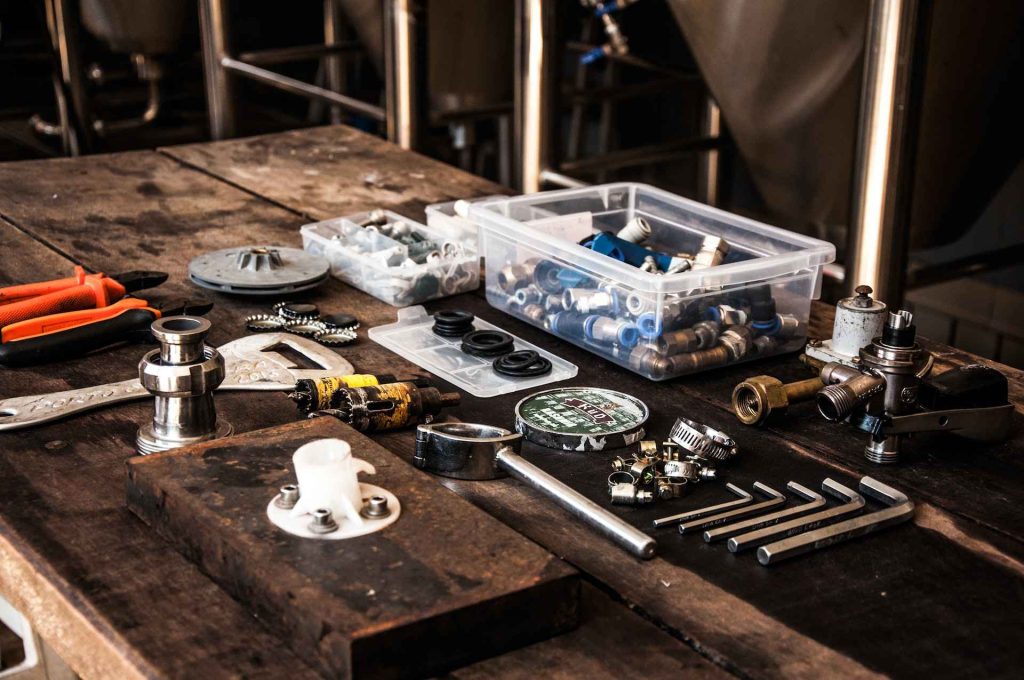
With just a few spots to check, troubleshooting an RV toilet is fairly simple, and only requires a few hand tools that most RVers already have. Here are the tools you may need:
- Philip head screwdriver
- Straight-slot screwdriver
- Wrench set
- Wire cutting pliers (also known as dykes)
- Micro pry bar
- Gloves
- Mask
- Flashlight
- Cleaning supplies (rag, brush, cleaner, garbage bag)
Now, you might not need all of those tools, but it can be nice to gather them all up before you start taking things apart just in case you spring a leak and need a tool fast.
Preparing the toilet
Before any parts are removed or disconnected, you MUST turn off the water supply to the toilet. In some rigs, this is done by simply turning a shut-off valve positioned right behind the toilet on the main water supply line.
In other rigs, turning off the primary RV water pump will achieve the same result. After turning the water pump off, hold the flusher down to release pressure and drain water in the system. If you don’t release the pressure, water may spray out of the pipes as you begin taking the toilet apart.
Make sure to also disconnect any city water lines from your rig before working on the system. Essentially, you want your plumbing system to be as unpressurized and “inactive” as possible.
A temporarily offline system, if you will.
Checking the flush pedal
The flush pedal on an RV toilet might require some minor disassembly to inspect the mechanical components of the pedal itself. This might look like popping a plastic cover off using a pry bar or removing some screws to access the inner works. However necessary, expose the flush pedal mechanisms and start depressing the pedal while observing the parts move.
If any plastic within the pedal has become malformed, or any components are catching and getting stuck while flushing, this is probably why your RV toilet is constantly running.
If the plastic is messed up beyond repair, a whole new pedal assembly may be required. In some cases, the internal spring in the pedal has become unseated and simply needs realignment. Other times, certain components of the flusher need to be lubricated with dry silicone to get them moving smoothly again.
Checking the flapper valve
If the pedal itself is in working order, then you can move on to the plastic flap in the toilet. When the flapper valve is misaligned or has become coated in mineral or waste build-up, it fails to support a pool of water in the bowl, causing the toilet to run.
The flapper doesn’t need a whole lot more than a visual inspection to see how it is doing. if it is visibly dirty, use an old, retired toothbrush and some soap to give it a cleaning. Never use a metal bristled brush on any rubber or plastic toilet components.
With a gloved hand, feel around the flapper valve to see if the gasket or the flapper itself feels misaligned. If either does, try to realign them in their original positions. If that doesn’t work, then the flap or the gasket should be replaced.

Checking the flush valve
Alright, so the flush valve is most likely the culprit behind your running toilet. When a water valve in an RV toilet gets stuck open, it continuously lets water flow into the bowl of the toilet.
Occasionally this problem can be fixed with a couple of forceful flushes of the toilet. Flushing quickly and firmly can act to dislodge the water valve from its stuck position. If this doesn’t work you’ll have to replace the water valve.
Hopefully, you have access to the water valve without actually having to remove the toilet itself. With full access to the valve, it is relatively easy to reach down, disconnect a few things, and plug a new valve in
Check out this video by YouTuber RV Living Yet on how easy it can be to replace the water valve on your RV toilet. He is performing this maintenance on a Dometic 300 series toilet, a common and popular RV toilet model on the market.
In addition to the tools listed above, you will need hose clamp crimping pliers to replace the hose clamps on the line between the valve and the body of the toilet.
For those of you that need to remove the toilet in order to gain access to the water valve, I’m going to let the folks at RV Education 101 show you how easy the process is. This video describes the whole toilet replacement process but serves to demonstrate toilet removal just fine.
Pro tip: Removing an RV toilet is an excellent time to examine and replace the closet flange seal if necessary. This special gasket is the primary toilet seal between the body of the toilet and the floor of the RV bathroom. When this gasket starts to fail, it’s a messy situation. Trust me when I say that you want to replace this part before it fails.
Maintenance tips
My number one tip for preventing issues with your RV toilet and plumbing system is simply to clean frequently and clean deeply. Most RV sewage systems encounter problems when the owners fail to clean regularly.
Perform the following tasks on a regular basis and you should rarely run into issues with your camper’s toilet or waste system:
- Clean toilet bowl and flapper valve
- Clean the outside of toilet
- Dump the black tank before too full
- Deep clean inside of the black tank
- Add 1-2 gallons of water to the black tank after every trip to the dump station
- Visual inspection of toilet and black tank performance
Frequently asked questions
Why is there water leaking out from under my camper toilet?
This is most likely caused by a faulty closet flange seal. If the flange seal is not the issue, there may be a crack in the toilet bowl or the flush tube that leads from the toilet to the black tank.
When should I replace my RV toilet?
Personally, I am an advocate for only replacing something when it is broken beyond repair. With that said, many RVers opt to upgrade to a porcelain toilet for the ease of cleaning and maintenance.
Conclusion
Despite our best efforts, it’s not always possible to personally diagnose and fix every problem we encounter in our adventure rigs. That’s where the professionals come in. A licensed RV technician or plumber will happily check out your RVs plumbing issues if you are unable to figure it out yourself.
Just remember to tip them well, because working on toilets can be a crappy job.
Happy camping!