An idle RV can be used as a guest bedroom, an off-season income stream, or emergency accommodations for loved ones. But without proper RV hookups, none of these situations are possible and could potentially be illegal.
Luckily for RV owners, installing RV hookups at home isn’t a massive, life-disrupting project! It definitely takes some elbow greases and costs a bit of money, but with proper planning and efficient project management, installing RV hookups can be done over the course of just a few weekends.
Read on to learn the tools, materials, and techniques needed to build a nice safe place to park your rig, and how to properly run its electrical, plumbing, and sewer hookups.
Why do people want to install RV hookups at home?
The foremost way that RV owners employ their unused camper is by offering it as a guest dwelling for visitors. RVs that are in a nice clean condition can be a preferred alternative to sleeping in a guest bedroom as it can offer overnight guests an additional layer of privacy they might not get in a house.
In areas where residing in an RV on private property is legal, RVers are known to offer campers as a fulltime living situation for friends or family in need. They might have a cousin who falls on hard times, or maybe a niece or nephew needs a safe place to crash while going through university. An RV won’t provide them with luxury accommodations, but it’s a safe and cozy place to sleep on land owned by people they love. Not a bad deal.
It’s also common to see RVs being rented out as an additional source of income for the RV owner. Short to long term leases, or even short-term vacation rentals have the potential to bring in a steady source of secondary income during months where the RV would be unused anyway.
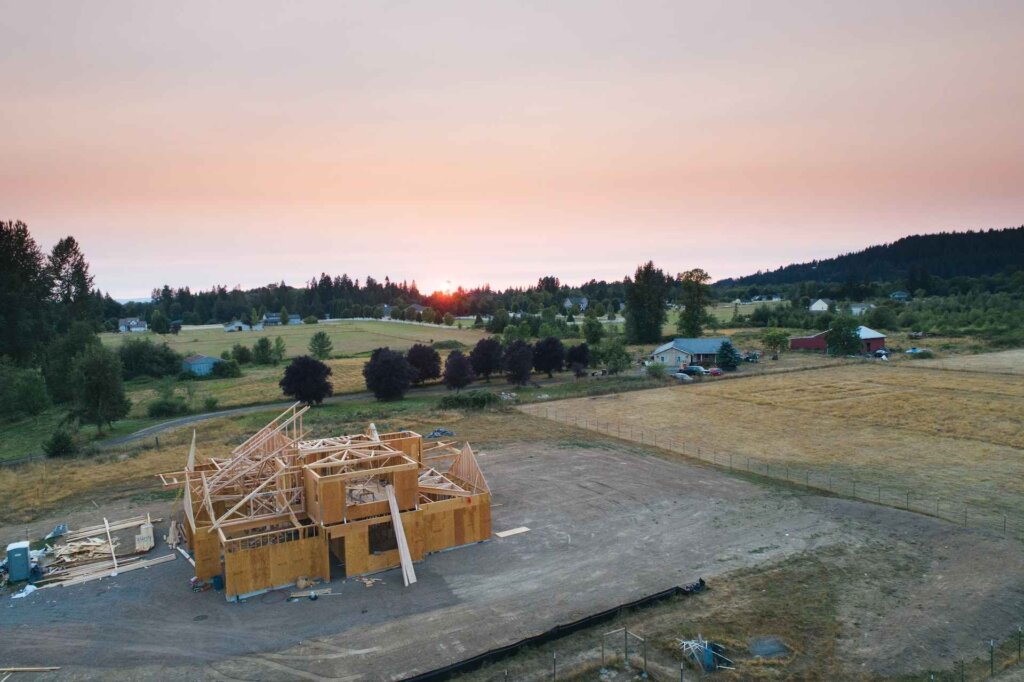
A classic way that RVs are used on private land is as a temporary residence during home construction. Living in a camper on the land gives a future homeowner a low-cost way to live while building or facilitating the building of their new house.
I know that when I eventually buy land to build on, my first project will be installing RV hookups and plopping down some old RV to call home for a while. After that, I can build at my own leisurely pace and not worry about racking up a huge hotel bill or paying monthly for a rental house.
Project overview
Assuming that you are building on land that has pre-existing utilities that are already connected to a house, this project is going to have 6 main phases.
- Planning/inspection
- Building a pad
- Digging trenches
- Electrical install
- Plumbing install
- Sewer install
For a smooth and hassle-free project, it is best for these phases to be done in the above order. When completed in a different order, you open yourself up to making time-consuming and costly mistakes.
Most RV owners hire a general contractor to perform the work needed to install RV hookups. If you possess the skills, experience, and technical knowledge required to do all of the work yourself it’s possible to save thousands of dollars in labor.
Planning/inspection
Step one of this phase is to determine where on your property that you want your RV to live semi-permanently. Because most campers are quite large and bulky, it is best to choose a location that is extremely easy to drive in and out of. If your RV is a travel trailer, ensure your access lane has plenty of wiggle room for maneuvering the rig while moving in reverse.
After determining the location, use marking flags to mark the size and orientation of the pad. If possible, your pad should extend three to four feet further than each side of the RV. This creates a nice level walkway surrounding the rig that can be used for performing camper maintenance.
Once the pad is marked out, decide how you want to route all of your utility lines. Do not plan on running your utility lines under your pad. Doing so will result in the need to tear up your pad should repair work ever need to be performed on the utility lines.
Use marking flags to mark the route of the lines from the pad to where they will connect to the city water line, breaker box, and sewer connection respectively.
Now that you’re fully marked out and have a solid plan, it’s time to call the city. City officials will be able to tell you what kind of permits you will need to add these utility lines to your property. They will also send out a city worker to locate and mark existing utility lines buried on your land.
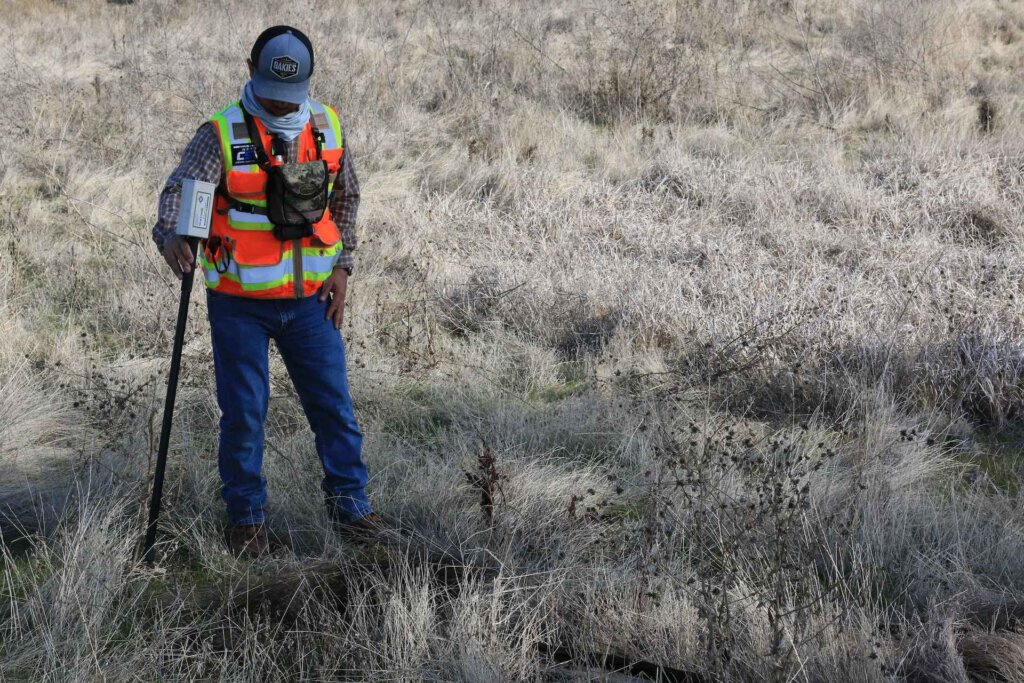
It is extremely important to call the city before you dig. If you accidentally damage a pre-existing line while installing new hookups, you are looking at paying a hefty repair bill.
Building a parking pad
While not strictly necessary, a parking pad is a very popular feature to build while installing RV hookups. A gravel or concrete parking pad provides a clean, level, and solid place to park your rig for long-term storage. Without a parking pad, a camper parked on virgin ground through the winter and spring will likely sink several inches into the soft ground.
Start by grabbing a shovel and digging a wide shallow hole in the location of the pad. You will need the hole to be the desired width and length of the pad, and 4-6 inches deep. Use a long carpenter’s level to level the bottom of the hole to the best of your ability.
Once dug and leveled out, put down a layer of filter cloth on the bottom of the hole. Filter cloth, also known as landscape fabric, provides a layer of stability under the gravel that will help prevent sink-spots from developing, as well as slowing the growth of plant life.
With the hole dug and filter cloth rolled out, all you need to do now is bring in the gravel. #57 crushed and washed gravel is a popular choice for this application, as it holds the weight of RVs well and looks good. Do not use pea gravel for your pad, as it will endlessly shift under the weight of your rig.
If desired, you can install a border of pressure-treated 4x4x or 6x4s in the hole before pouring and leveling the gravel. A wooden border can give the whole pad a nice tidy look.
Installing a concrete pad follows the same steps as a gravel pad, barring a few exceptions. The initial hole that is dug for the pad must be nine to ten inches deep. This provides enough room for the filter cloth, 4 inches of crushed and compacted gravel, and 5-6 inches of concrete on top of the gravel.
With the parking pad complete, use two 60-pound bags of concrete to install a pressure-treated 4×4 vertically, immediately adjacent to your pad. Make sure the post comes up at least 3 feet above the surface of the ground. This post will be used to secure the final hookups.
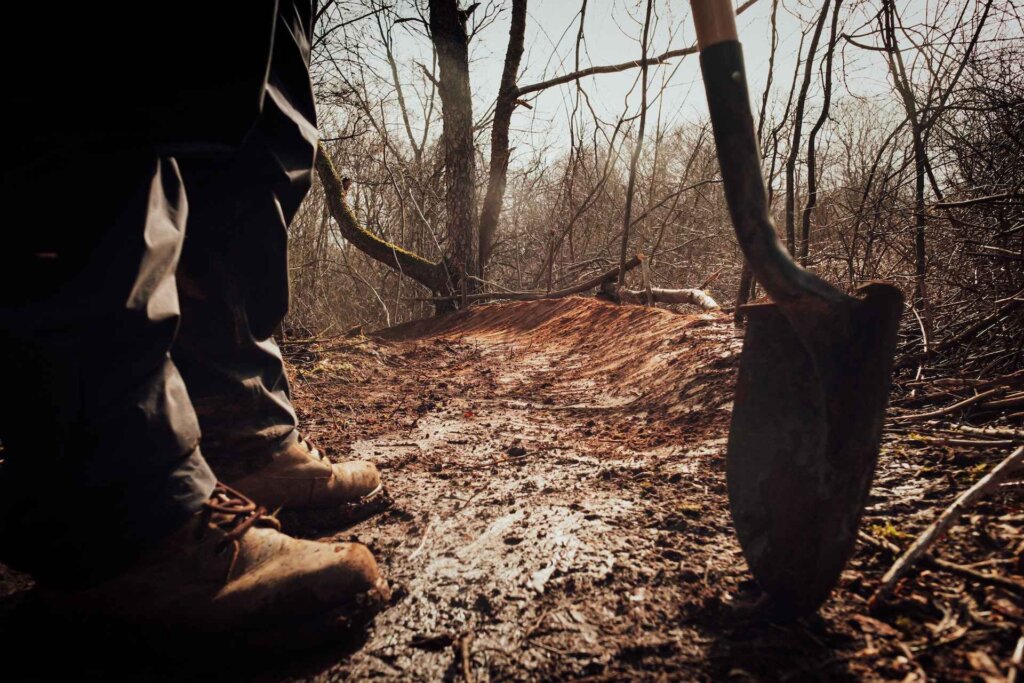
Digging the trenches
Assuming the city gave you the thumbs up on your utility line locations, it’s time for some more digging. The difference this time is that you are going to be digging deep, like really deep.
Water lines must be buried below what is known as the “frost line”. A frost line is the depth to which water contained in soil freezes. Any water lines buried above the frost line run the risk of freezing in cold winter temperatures. Expect to need your trenches at least two feet deep, potentially three to four.
Most jurisdictions also have zoning laws that specify electrical lines must be dug at least two feet down, so it’s safe to assume you will need both water and electrical trenches to be at least 24″ deep.
Start each trench at the base of your three-foot utility post. The quickest way to dig these trenches is to rent a trencher from a tool rental company. Trenchers are large pieces of machinery that quickly dig narrow, deep trenches for laying utility lines.
Electrical install
Unless you are a trained and licensed electrician, the safest route to installing an electrical hookup will be hiring a professional. A licensed electrician will be able to accurately determine your RV’s power needs and what gauge wire will need to be run to supply those needs. They also will know how to connect to your home’s breaker box or sub-panel without damaging your house’s electrical system.
If you have an RV that can run off of a 110 or 120-volt power supply, then you have the option to simply run a heavy-gauge extension cord from your house to the rig. In this case, you won’t need to dig any trenches or have additional electrical hookups installed.
If the distance from your house to your parking pad is greater than 100 feet, it’s best to go ahead with having the additional hookups installed.
Make sure to use a surge protector when connecting your RV to external power sources. A surge protector protects your RV’s appliances from shorting out in the event of a power surge from the grid.
Plumbing install
Use CPVC piping and a shut-off valve to connect to your house’s water supply. The connection can be made anywhere along the line, as long as it is on the same side of your main water shut-off as your house. This ensures that in the event of an emergency, closing your main shut-off will also shut off the flow to your RV.
More than likely, where you connect to your main water supply will have already been determined by where you dug your trench. Installing a shut-off valve right at your connection point will allow you to shut off your RV water supply for maintenance reasons, without shutting the water supply to your home.
Where the trench ends at the base of your utility post, curve the piping upward so it points vertically, and lies flat against the post. Any portion of pipe that will be above the frost line should be wrapped in heat tape. Heat tape uses electricity to produce heat and prevent water in plumbing lines from freezing. Without heat tape, your water hookup might freeze up in the winter.
Install a spigot at the end of the water line and secure it to your utility post. Use pipe clamps to secure any loose pipe to the post. I find it most useful to have my spigot right near the top of the 3-foot post.
After the water line is connected and secured, go ahead and fill in your trench with backfill.
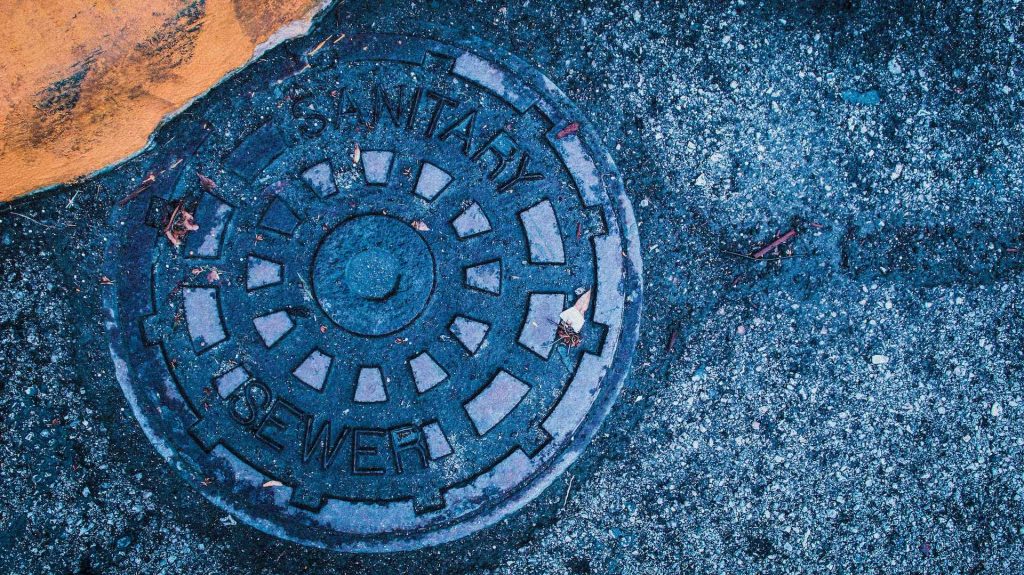
Sewer connection
The way you deal with your sewage and waste will largely depend upon how your house disposes of sewage.
If you have an accessible sewer hookup, and it is legal in your city to connect to this hookup, that’s it, you’re done. This type of sewer hookup feeds into your city’s public sewer system and will dispose of your waste easily and for free. Simply locate the sewer cap, unscrew, and attach your blackwater line.
If your land is not connected to a public sewer system, and instead uses an in-ground septic system, you can also connect to that. You will probably need to hire a plumber or septic-tank installer to dig down to the main body of your septic tank, and install a 4-inch pipe that runs up to the surface and ends in a screw-on cap.
With that pipe installed on your septic tank, you can dump your RV waste in the same way you dump your black tank at a campground or RV park.
Frequently Asked Questions
Our readers demand answers!
Can I live in an RV on my own property?
Every city and state have local zoning laws that address this question. In some parts of the country, it is totally legal to live in an RV on your property, in other parts, not so much. This is a question to ask your city’s officials directly.
Can I hookup to my house’s utilities without installing new hookups?
Yes! You absolutely can do this. RVers sometimes refer to this as a “poor man’s hookup” and it is commonly done across the country. All you need is a freshwater hose, a heavy-duty extension cord, and the willingness to properly dump your blackwater tank when it’s full.
Good luck with this project!
If you stick to your plan, call before you dig, and invest in quality materials, I’m sure you’ll be able to enjoy your new RV hookups for years to come.
Happy camping!