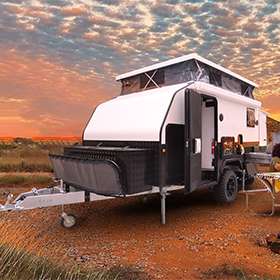
How to Insulate a Camper Trailer?
There are simple steps that you can follow to insulate your camper. You need to follow a step-by-step procedure to build the best defense from harsh weather.
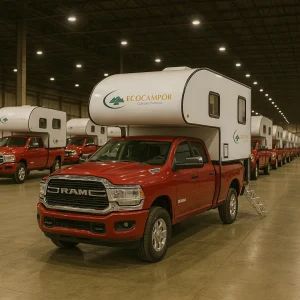
(Just a heads up, I am going to be using the terms “RV” and “camper” somewhat interchangeably throughout this article, as most of the tips I give will apply to camper trailers, truck bed campers, RVs, and fifth wheels.)
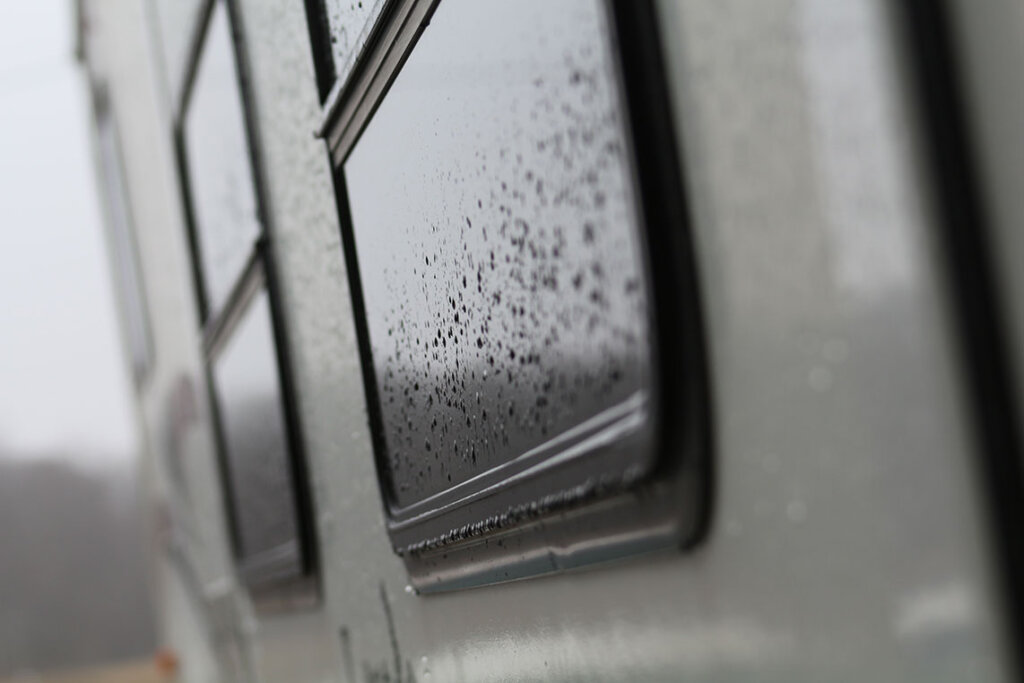
Improve Your Windows
Doors and windows are always going to be the most risky spots in your camper when it comes to letting cold air in or out. Over the years, many techniques have been developed to help improve the insulating properties of RV windows and I’ve mentioned the best among those techniques below.
Seal Your Windows
After giving your window a once-over with caulk to make sure the edges are air-tight, take a moment to examine how many panes of glass your RV windows have. Many campers come standard with single-pane windows that do not perform well in regards to thermal transfer.
A simple and cheap method to combat these drafty single-pane windows involves using clear plastic film to create a faux windowpane. This film sits tight against the window frame and creates a sealed air pocket that resists thermal exchange better than a single pane of glass.
Insulated Window Curtains
Some RV brands are now selling insulated window curtains that can keep your camper comfortable without compromising privacy. These curtains achieve insulation excellence by blocking the sun’s radiant energy and can be bought or made without too much trouble.
If you’re not too worried about the aesthetics of your insulated window curtains and want something DIY, a thick piece of cardboard or a sheet of Reflectix cut-to-fit will achieve many of the same goals.

Consider Upgrading Your Windows
If you have the money and desire to really invest in your RV windows, consider upgrading to multi-pane windows. Multi-pane windows essentially have two or more glass panes with a pocket of harmless argon gas trapped between them. The argon gas creates an air barrier resistant to thermal exchange and will prevent cold air from leaking inside your camper during those chilly winter nights.
This is essentially a more efficient and permanent version of using plastic insulating film to seal your windows.
RV Skirts
Drive by any RV park during the long winter months and I guarantee you will see many of the campers there outfitted with RV skirts.
An RV skirt is a barrier that prevents cold air from hanging out and blowing underneath your trailer’s weak parts.
These skirts can be made from just about anything, but you’ll typically find them pieced together with scrap plywood or sheets of rigid foam. You can also buy fabric skirts that will fit many styles of campers, or even have one custom-made for your camper.
When constructing your own skirt, keep in mind the principles of air exchange. Creating a nicely sealed pocket of air under your rig will result in a significant heat reduction loss through your floor. This in turn will save you money as it will require much less fuel to keep your camper toasty through the winter.
Before you start to construct your own RV skirt, check the policy of the site you are camped at. Some parks and campgrounds have strict rules regarding skirts and the building of permanent or semi-permanent structures.
Interior Insulation
If you’re really serious about upping your camper’s insulation game, you might want to consider revamping the insulation in the walls, floor, and ceiling. But depending upon the age, make, and style of your RV this can become a massive project quickly.
Make sure you understand what you’re getting yourself into before you start tearing down wall panels and ripping up floorboards. You don’t want to be caught mid-renovation when your buddy invites you on the next epic ski trip in the mountains.
Most Famous Insulation Materials for an RV
All sorts of insulating materials exist for every manner of the project. Here we’re going to focus on the three you are most likely to use in your camper:
- Fiberglass
- Rigid Foam
- Spray Foam
Each of these insulations has benefits and drawbacks in their installation and performance, so picking the right one for you is an important first step.
1. Fiberglass Insulation
Poke around the attic of most houses, and you’ll likely see fiberglass insulation in use. It’s fluffy, and stringy, and can resemble cotton candy when it is pink.
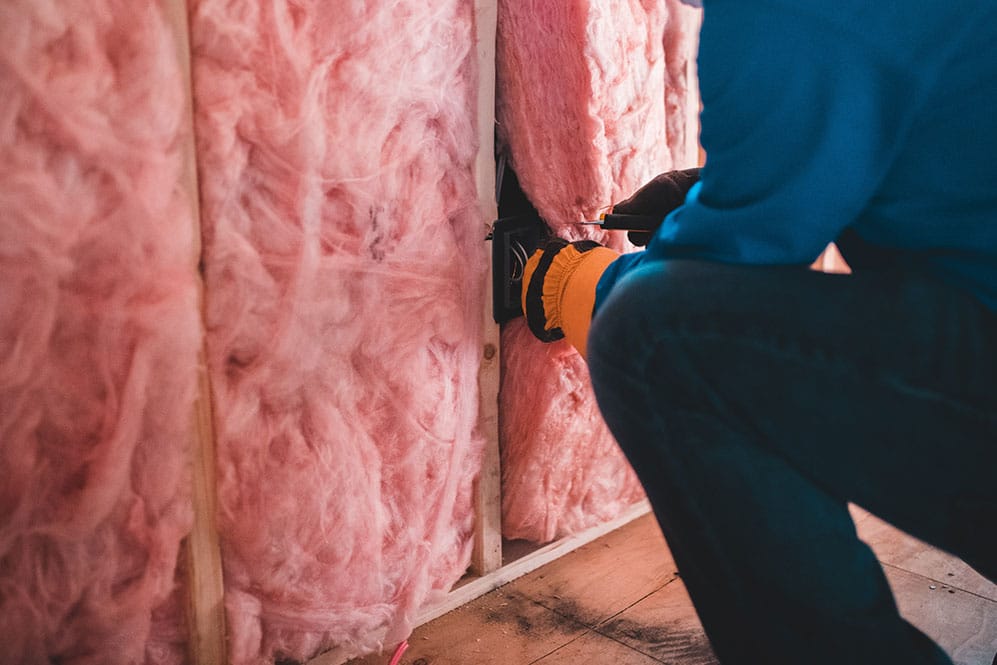
Most commonly used in home construction, fiberglass insulation is known for its ease of installation, high R-value , and low cost. I’ll discuss more on R-value as we proceed in the article. If your RV will primarily be in rainy or humid climates, it could be worth exploring other insulations, as fiberglass insulation is very capable to damage and mold if it is consistently wet.
Pro-tip: Don’t compact fiberglass insulation during installation. The insulating properties of fiberglass are dependent on the air suspended between each strand. Condensing fiberglass insulation will lower its overall R-value.
2. Rigid Foam
Known for its long lifespan and resistance to moisture damage, rigid foam is a great insulation option for anyone who will be spending the majority of their time in wet climates, or if you are refurbishing an older camper that may be prone to unpredictable leaks.
If you are on a tight budget you might want to explore other options, as rigid foam can be a large initial investment. Personally, though, I think the investment is worth it due to its superior lifespan. Its average lifespan is around 25-30 years.
The biggest drawback to using rigid foam insulation is in the installation. These sheets of foam can be unforgiving, and you must be able to trim them down to your RV wall’s exact dimensions to effectively insulate.(Keep in mind: I will almost always suggest investing more $$$ in quality materials. It will save you time, money, and headaches in the long run.)
3. Spray Foam
Affordable and lightweight, spray foam is superior in its ability to create a tight seal (which will help keep your air exchange down) and resist moisture damage.
It can also have more soundproofing qualities than most other insulations, a feature that could come in handy if your RV park neighbors insist on blasting Kenny Chesney until 2 AM for the third night in a row.
The installation of spray foam can be a bit tricky so only choose this route if you are ready to really strip your camper down to the studs and get a bit messy. This insulation sprays in a sticky liquid form and as soon as it contacts a surface it will begin to expand and harden. Make sure you use plenty of tape and plastic film to protect anything you don’t want to be sprayed, otherwise you are looking at a long clean-up.
What is the Best Insulation for a Trailer?
Every camper will have unique needs, so deciding what insulation you want to invest in will take careful consideration.
Taking the time to choose the best insulation for your camper is important. End up with a too-low R-value and you might have invested a lot of money and effort for nothing. Take on a project too complex for your DIY capabilities, and you might end up shelling out even more money for a professional to finish the job.
Consider climate, travel plans, budget, and skill to ensure you choose the best RV insulation for your needs.
Here are some of the most common insulation types used in trailers:
1. Fiberglass insulation: This is the most common type of insulation for trailers. Fiberglass insulation is made from glass fibers and is relatively inexpensive. It is effective at insulating against heat and cold but can be a skin irritant if not handled with care.
2. Spray foam insulation: This type of insulation is applied as a liquid and expands to fill gaps and cracks, making it ideal for trailers with irregular or hard-to-reach spaces. Spray foam insulation is effective at sealing air leaks and can provide better insulation than fiberglass.
3. Reflective insulation: This type of insulation is made of reflective materials and is ideal for trailers used in hot climates. Reflective insulation reflects radiant heat away from the trailer, keeping it cool and comfortable.
4. Foam board insulation: This insulation is made of polystyrene foam and is ideal for trailers that require a high level of insulation. Foam board insulation is lightweight, easy to install, and provides good thermal insulation.
Ultimately, the best insulation for your trailer will depend on your specific needs and budget. Consult with a professional or do thorough research to determine the best insulation type for your trailer.
Protecting Against Cold Weather

Sometimes despite all of our best efforts, temperatures will still drop low enough to warrant additional insulating measures. These three tips should help you stay warm on those extra frigid nights:
- Door snake: A door snake is essentially any piece of fabric or foam that you can place along the bottom edge of your RV door to block cold air and retain heat. I’ve most commonly seen people use rolled-up towels or tubes of fabric filled with dry beans as door snakes.
- Vent cover: Despite the importance of having roof ventilation, a roof vent can be a big source of cold air leakage. A vent cover will prevent cold drafts in a similar way to a door snake.
- Insulate exterior compartments: Many RVs feature exterior storage compartments for gear. While handy, these compartments are often uninsulated and can have a large impact on the thermal exchange within your camper. Putting some rigid foam insulation against the ceiling and walls of these compartments can be a game-changer, especially if the compartment is located directly underneath your bed. If you have a Rear Folding Camper, it may be worth throwing an additional layer of rigid foam in between your truck bed and the camper.
Protecting Against Hot Weather
While most RV owners fret over the thought of spending an unpleasantly cold night in their camper, having to suffer through a hot, sticky night can be just as miserable. Take these precautions to help ensure you snooze comfortably while traveling in warm climates:
- Park in the shade: If you can keep your camper out of the sun during the hottest parts of the day, it will be much easier to stay cool at night. The shade will protect your RV from direct solar radiation and can feel upwards of 10-15° F cooler than direct sunlight; good for you and your camper.
- Cook outside: Even a single propane burner can produce an astonishing amount of heat inside the camper. Cooking outside is going to be more fun and will keep all that extra warm air out of your camper.
- Use portable fans: These little fans can be a mighty defense against hot, stagnant air in your RV. Many are battery and solar-powered and are lightweight so they can be easily and safely stuck above your bed.
Why is Camper Insulation Important?
Anyone who has spent a bitterly cold night in a poorly insulated camper can tell the importance of properly insulating your rig before you head out on your next adventure. It can be dangerous without insulation as you can face plenty of problems, freezing pipes in an RV is just one of them.
Camper Trailer Insulation Principals
The more you understand the camper insulation ideas, the more success you will have as you begin improving the insulation situation in your camper.
R-Value – What Is It and Why Is It Important?
R-value is a numerical rating assigned to a material that corresponds to that material’s ability to resist heat transfer via conduction.
Heat is always going to be attempting to move from areas of high heat to areas of low heat. The process that allows this thermal transfer to happen is called conduction. In the winter, the thermal transfer will be attempting to pull the warmth out of your camper, and in the summer, it will be trying to pull warmth in.
The higher the R-value, the more resistant material will be to heat transfer. For example, a sheet of foam insulation with an R-value rating of R-25 will be better equipped at keeping your camper comfortable than a similar sheet of foam insulation with a rating of R-15.
What R-Value Do You Want?
Generally speaking, you’re going to want to look for an insulating material that has a high R-value without being too thick or heavy.
Typically, RVs will have a wall R-value rating around R-7, the floor will be in the R-10 to R-15 range, and ceilings should be rated at R-20 or higher.
Giving some thought to what climate you will be spending the majority of RV adventures in will help you determine what R-values you will need in your camper.
Air Exchange
During my time as a carpenter learning the science behind passive home building, I learned about air exchange and the crucial role it plays in keeping a dwelling comfortable to inhabit. The more air exchange your camper has, the harder it will be to control the temperature.
Air exchange simply refers to the process of air moving from the inside of your camper to the outside or vice versa. This is important to pay attention to because as air flows in and out of your camper, it carries with it heat.
To control your camper’s air exchange, you will want to stop all uncontrolled airflow, while achieving controlled air exchange with mechanical ventilation.
Airtightness
One of the absolute easiest and cheapest ways to help insulate your RV and control air exchange will be to properly seal your camper. With a tube of caulk and several lengths of weather stripping, you will be able to examine the exterior of your rig, sealing unwanted holes and seams as you go.
Make sure to focus on areas of high potential air leakage, such as windows and doors. If you observe old, ineffective caulk that needs mending, try to scrape away as much of the old before applying new. This will help ensure the new caulk adheres to your camper properly and creates a solid seal.
Replacing the weather stripping along the bottom of your RV door has the potential to significantly increase your camper’s insulation. As mentioned earlier, doors are always a culprit in poor insulation situations, as they are typically the largest openings in a camper.
Ventilation
Once you are properly sealed, you will want to be able to control the airflow in and out of your camper with some form of ventilation. This will help in humidity control and prevent the build-up of unwanted mildew and molds. If you are traveling or living in a particularly wet climate this will be especially important as mold can grow fast and be harmful to one’s health.
Luckily almost all campers, RVs, and even converted vans come standard with roof vents installed.
Another benefit to having some form of mechanical ventilation in your camper is the control of dangerous gasses such as carbon monoxide. Please have a carbon monoxide detector in your camper at all times and check the batteries regularly.
Ready For Adventure!
Now that you’ve given your RV insulation an overhaul, you’re ready to hit the road rain, snow, or shine.
Don’t be afraid of camping in extreme climates and temperatures! My favorite outdoor memories come when I wasn’t afraid to brave a little snow and cold weather.
With that said, be smart and safe when preparing for your next RV adventure. Do plenty of research, buy the right gear, and if something feels unsafe, trust your instincts.
Always inform someone of where and how long you plan to travel and camp. This is an important precaution for your safety and will give your friends and family some peace of mind.
The open road is calling, answer it!