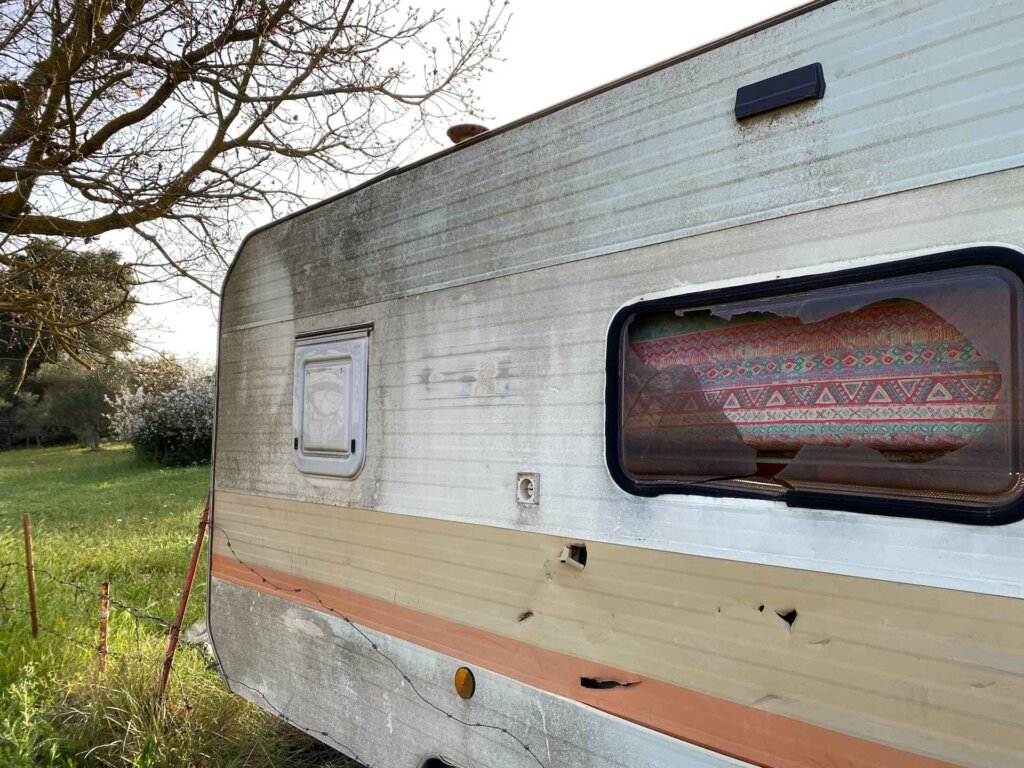
You should only buy a water damaged camper if you plan to fix it up and use it for camping and traveling. Just keep in mind that fixing water damage can be a lengthy, expensive venture, so this type of project should not be taken on flippantly.
This article aims to serve as a guide to the nuances of buying damaged campers and what buyers should look for and avoid during the buying process. It will cover the potential risks of buying a water damaged recreational vehicle (RV), a cost analysis for repairs and renovations, and offer some low-cost alternatives to buying a damaged camper.
Why someone might buy a camper with water damage
People from all sorts of backgrounds can be inspired to buy a damaged RV for drastically different reasons.
Hard times
RVs are expensive. They are so expensive in fact, that many people end up in situations where they are desperate to find a low-cost camper to buy. This could be from experiencing hard times financially or facing an unexpected housing crisis.
Regardless of why exactly a person needs an RV, situations in which a person is pressed by time to buy a camper can lead to taking a risk on buying a water damaged rig.
Oftentimes, people in these situations don’t have a choice. They would buy an undamaged rig if possible but can only afford an RV that has been discounted due to damage. In times of struggle, preference goes out the window and circumstances make the decisions.
Fixer upper
It seems as though we all have a friend that would prefer to buy a cheap used car that’s in need of repair, over buying a newer, problem-free vehicle. This friend enjoys the process of fixing up an old car, more than likely adding a few custom touches along the way.
Well, the world of RVers is no different, and some folks just can’t say no to a new project, even if it’s not the best time to take one on.
When these handy RVers buy a water damaged rig, they have a keen idea of exactly what is needed to fix it up and are usually able to do so at a surprisingly low cost.
Pet project
Similar but different than a fixer upper, a pet project is a venture that someone has undertaken for the simple pleasure of it.
Some people just love to fix things, and damaged RVs are prime candidates to be fixed: Part vehicle, part home; offering equal amounts travel, comfort, adventure. Once fully refurbished, an RV provides endless fun and memories.

Crazy people (like me) who take on these types of projects understand that they are not going to make money from them. They know that more than likely they will pour a steady stream of money into a camper to return it to its former glory, and never see that money again. And they are okay with that.
These types of people -hardcore builders, refurbishers, and DIYers- do it for the love of the work. For the simple reward of having done it.
They like getting dirty, frustrated, upset, happy, excited, sad, hurt, and stoked. They want to make mistakes, to learn from those mistakes, move forward, and be all the better for it.
The damage won’t matter
Alright this one is a bit tricky to explain so just stick with me for a second.
As a ski bum in the Pacific Northwest, I have been in my fair share of rain. This constant moisture has a terrible effect on RVs, and results in many recreational vehicles in the region developing moderate to severe mold issues, and oftentimes structural damage.
How did we skirt that issue? We bought cheap RVs from snowbirds in Arizona that hadn’t seen a rainy day in 15 years. These RVs were bone-dry and mold free. Perfect for our needs up the Northwest.
So, imagine that same situation, but in reverse. A person who lives in dry Arizona wants to buy a cheap RV. They find one up in Oregon that has some water damage, but more importantly, is cheap. Upon checking it out, the water damage is hardly noticeable, nothing more than some moldy carpet and subflooring.
With such minimal damage, it’s feasible to cheaply replace the compromised parts of the camper, treat the surrounding areas with bleach-water, and call it a day.
If all of the rehabilitation work has been done properly and thoroughly, this person can trust that sunny dry Arizona will not promote more mold growth in the RV.

Potential risks of buying a water damaged camper
Buying a damaged vehicle of any sort comes with risks. That’s just the nature of the deal; you buy a damaged rig for a low price and pray that you know the full extent of the corruption.
While I am a huge advocate for people buying damaged campers and fixing them, I advise people to do so cautiously. An incredibly thorough-and slightly invasive-inspection must be performed on any compromised RV before purchase.
This is the only way to ensure you have a comprehensive understanding of the damage.
Water damage in an RV usually presents itself in the following ways:
- Structural damage: The structural integrity of a camper’s main body can easily become weakened if the primary framing material is wood. Moisture leaking into the walls soaks into the wood frame, allowing mold to grow and leading to rot. Aluminum framed campers withstand moisture better than wood framed models.
- Mold: Due to its hard-to-spot nature, mold poses a very serious risk to the health of humans. Asthmatic people and people with compromised immune systems can have severe reactions to moldy environments, sometimes resulting in lung infections. Carpet, wood, fabric, paper, and cardboard all have the potential to grow mold in an RV.
- Electrical issues: Uncontrolled water in the walls of a camper can wreak havoc on its wiring harness and electrical components. Moisture can lead to shorts, corrosion, faulty equipment, and broken appliances.
**Note** For all of the mold you can see, there is probably 4x more mold that you cannot see. Seeing mold is a “tip-of-the-iceberg” situation.

How to inspect a water damaged camper
Okay, now that you know what areas to pay particular attention to, let’s talk about inspecting a used RV.
A travel trailer will require a less exhaustive inspection than a motorhome, as they do not have an engine, or as many moving parts to inspect.
Tools
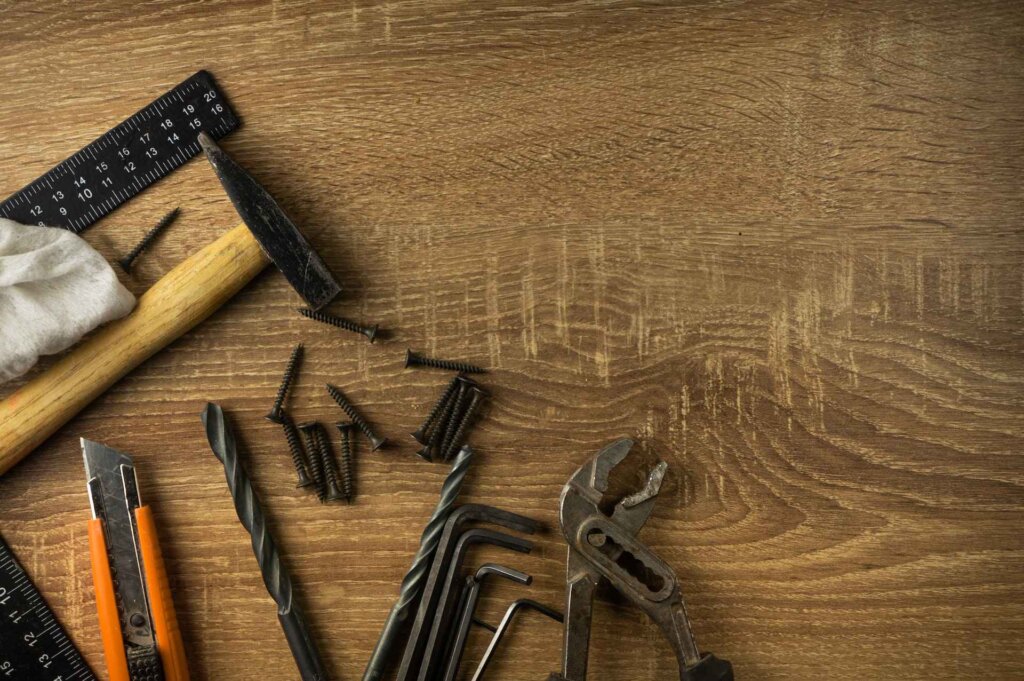
Too perform the most thorough inspection possible, I suggest bringing the following tools to your meet up and utilizing them as you check out the camper:
- Strong flashlight
- Phillips screwdriver
- Straight slot screwdriver
- Utility knife
- Small metal pry bar
- Wrench set
- Multimeter
- Several 12V fuses of varying voltages
- Circuit tester
- Gloves
- Face mask
- Paper towels
- Garbage bags
- Sheet of cardboard or plastic (for laying on during undercarriage inspection)
The inspection
First, ask the seller for an honest overview of the extent of the damage, including what all has been damaged, where they believe the water leak to be, and if any water accumulates on the roof or in the interior of the camper.
Ask if there are any specific damaged parts or major issues they know about. Find out what kind of regular maintenance was performed, if they attempted to repair anything themself, and if basically just any other problems they can think of.
You should be trying to squeeze as much information out of them as possible, be ruthless.
Hopefully the seller is ok with you doing a bit of demolition, because you’ll need to see into the walls to get a full look at the damage.
Follow these steps to inspect the camper:
- Inspect the entire exterior. If you spot any serious problems with the shell of the rig, you’ll quickly know if it’s worth continuing the inspection. Pay particular attention to seams, penetrations, doors, and windows.
- Examine the caulking around all doors and windows. Take note of any spots that appear to be letting water in. Those spots will be checked for rot from the inside.
- Exterior cracks in the walls are another entry point for water. Look for signs of accidents, collisions, or weather damage. Perform a thorough check of the roof for evidence of sitting water such as puddle stains, and for holes and cracks.
- Heading inside the rig, use your utility knife or a screwdriver to poke at any wood, wall paneling, or trim in the trailer. Any material that feels softer than you would expect is likely to have rot. Try exposing the material in question and look for mold, rot, and moisture. Window frames and door frames should be thoroughly tested in this manner. Frames are notorious for rotting and letting moisture into RVs.
- Test every single electrical appliance, no exceptions. Any problems found with the electrical system could require an expensive repair. Switch on all lights, fire up the water pump, test the tank level sensors. If it can be turned on, turn it on.
- Visually inspect the battery bank for signs of battery damage from moisture.
- Any interior wall situated below a known leak needs to be opened up so the framing and insulation can be inspected. Wooden framing should be clean, mold free, and hard when poked. Soft framing is a really bad sign and indicates extensive and invasive damage.
- Walk around the camper excessively, paying attention to the floor-feel. Sags and soft spots point toward rot damage. If the seller allows it, try to pull back a corner of the flooring to expose the sub-floor. Rotten sub-floor is bad news.
- Flip the mattress, open the cabinets, smell the curtains. Find anywhere that houses soft things and inspect them. Soft things grow mold quickly and will help you to determine the extent of the damage.
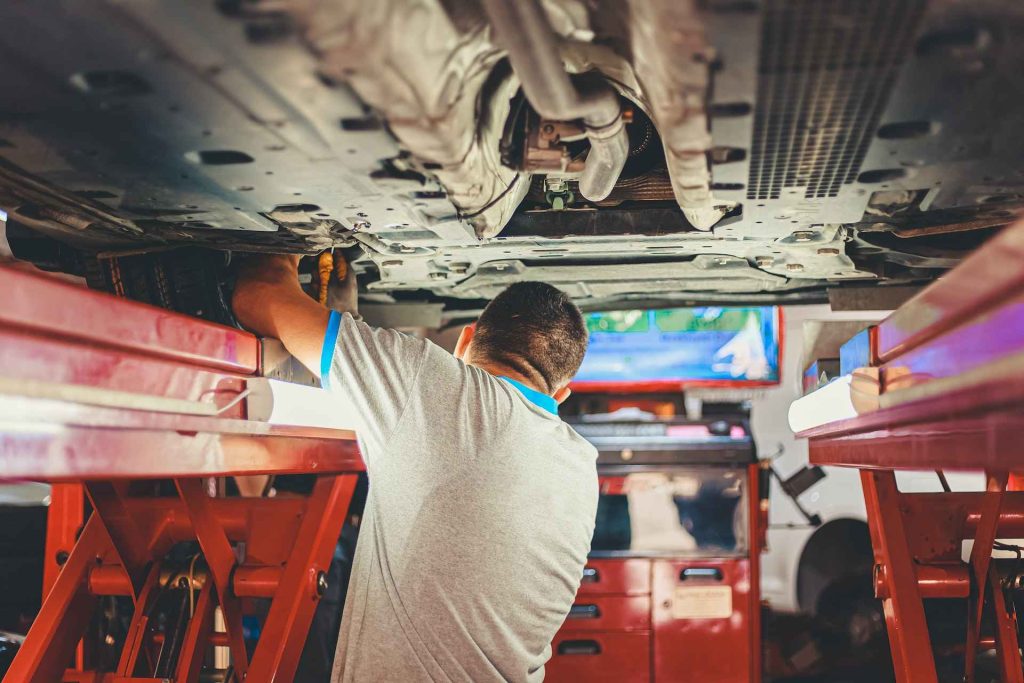
- Lastly, to be prudent, crawl under the rig and look for extreme rust damage on the chassis and main axel.
Determine the worth
This is the moment of truth really.
After inspecting the RV, check your notes, reflect on what you saw, and make a decision. Decide if YOU think it worth it for YOU to buy a damaged RV.
This is such a subjective thing. Everyone has a different idea of what “worth it” means. So, in the end, it will come down to each individual to decide if they think buying a water damaged camper is worth it.
Those of you looking for a pet project might decide it is absolutely worth buying a damaged travel trailer. Folks who want to dive headfirst into the adventure-packed RV lifestyle will probably want to invest in a new camper or an undamaged used RV.
Cost analysis of repairing damage
Attempting to predict how much repairs will cost on an RV is almost a futile practice. Every situation is so incredibly different, that it is nearly impossible to throw out accurate numbers.
With that said, I’ll do my best.
I’m going to split my cost analysis into three categories based on potential severity of damage:
- Low damage: Most of the damage is cosmetic. Some minor holes need repairing, along with a patch of subfloor floor or bit of wall as well.
- Moderate damage: Water has compromised various components, including the frame, flooring, and walls. All mattresses, curtains, and much of the trim needs replacing. Some electronics have been affected.
- Extreme damage: The camper will need to be stripped down to the chassis and frame to successfully rehab. Many electronics are damaged, as are some windows, and mechanical components.
It is also worth noting that people who have the tools, skills, and ability to perform repair work themselves will literally save thousands of dollars on these projects.
Low damage
To repair some cosmetic damage, lay down some new carpet, patch a couple holes, and maybe strengthena bit of the floor shouldn’t cost too much.
Folks who can do the work themselves will be looking to spend $500 to $1,000 on materials. Paying a professional could cost around $3,000 for materials and labor.
Moderate damage
This is tricky to take a guess on, but I know that I could personally rehabilitate a moderately water damaged camper for $2,000 to $4,000 if I was careful with my budget. Maybe $5,000 if I balled-out on a few features.
Paying a professional to take care of this could cost upwards of $3,000 to $8,000 dollars, and that’s being extremely conservative. In this scenario, we are rapidly approaching a “not worth it” situation.
Extreme damage
To fully gut, rebuild, redecorate, and fully kit-out a camper may cost upward of $5,000 to $10,000. With my decades of experience as a builder, I would budget myself at least $7,000.
Don’t pay a professional to repair and refurbish an extremely damaged trailer. Spend that same money to buy a new or gently used RV.
Looking for something unique and flashy? Consider ordering a camper from a custom manufacturer.

Alternatives to buying a damaged camper
If you are not specifically looking for a project-RV, buying damaged, used RVs is risky. More often than not, the damage is worse than the seller indicated, and the new owner has to pour absurd amounts of money into fixing it up. A net loss.
If that’s you, here is my advice: Be patient, and hold out for a cheap, used RV in good condition.
They exist and eventually someone will sell one near you. Just check online classifieds and marketplaces every day and have the money ready for when the perfect RV comes your way.
In the meantime, rent an RV for a weekend getaway and start learning how to be a safe, responsible RV owner.
Frequently asked questions
Universally feared by RVers, rot is stressful and hard to deal with.
How do I plug a leak in my RV roof?
For small holes and leaks, UV-resistant silicone caulk is the best route. Large holes should be inspected by a RV technician and fixed according to their recommendation.
How much should I pay for a camper with damage?
Add the total cost of the damaged RV to the projected cost of repairs. If the sum is greater than it would cost to buy the same model new or gently used, then you are paying too much.
Conclusion
Good luck out there and have fun!
I think refurbishing old, damaged RVs is the best way to hone your RV maintenance skills. So don’t be afraid to take on daunting projects because that’s the best way to learn.
Happy camping!

